

Discover sends emails through your own email account via SMTP. The steps below walk through setting up SendGrid as that provider. SendGrid is a dedicated sending service that handles deliverability at scale better than a standard email account.
1. Create a SendGrid account
Follow SendGrid's official guide: How to Create a SendGrid Account
- Sign up with your name, email, and password.
- Verify your contact information.
- Complete basic account setup.
2. Create an API key
Follow SendGrid's official guide: Integrating with the SMTP API
- Go to Settings → API Keys.
- Click Create API Key.
- Grant Mail permissions.
- Save the key securely (you won't be able to view it again).
3. Verify a sender identity
Follow SendGrid's official guide: Verify Sender Identity
Choose one of the following:
- Single sender: Quick setup, fine for testing.
- Domain authentication: Recommended for regular use.
4. Configure the email account in Discover
In Discover settings, open Email accounts and click Add account. Enter the following:
| Setting | Value |
|---|---|
| Username | apikey |
| Secret | Your SendGrid API key from step 2 |
| SMTP server | smtp.sendgrid.net |
| Port | 587 (recommended) |
| Encryption | TLS |
| Send limit | Subject to your subscription |
| Batch size | 5000 |
| Emails per minute |
Note: The username is always the literal string "apikey" — not your email address.
For reference, see Integrating with the SMTP API in SendGrid's documentation.
5. Confirm the account
Discover tests the server connection when the form is submitted. If the connection fails, check:
- Your API key is correct.
- Your sender identity is verified in SendGrid.
- Your network allows outbound SMTP on port 587.
Once the connection succeeds, Discover sends a confirmation email to the from address. This confirms the address is valid and associated with the credentials you entered. A connection can succeed even if the from address isn't linked to the account — if that's the case, emails won't send even though the connection test passed.
If you don't receive the confirmation email:
- Check your spam folder. If it's not there, check your email provider's quarantine. Some providers route unfamiliar senders there, and quarantine notifications can be delayed.
- Confirm the address is correct. If you entered the wrong address, edit the account — the connection will be retested and a new confirmation email will be sent.
- Confirm you have permission to use the address. The from address must be associated with the username and password you entered.
Once confirmed, the account will be available when composing an email invitation.
Important: Security, reputation and warmup
There are several protocols to verify sender authenticity with emails, including Sender Policy Framework (SPF), DomainKeys Identified Mail (DKIM), and Domain-based Message Authentication, Reporting, and Conformance (DMARC). These are important tools that can affect the deliverability of your emails. SendGrid can create and maintain these records on your behalf automatically, or they can be managed manually.
Configure domain authentication
Even with authentication records in place, new SendGrid accounts should gradually increase sending volume over time. Sending too many emails too quickly can hurt deliverability and cause messages to land in spam.
Establish and Maintain Reputation
Additional resources
Troubleshooting
If Discover is reporting that an email send was successful, but your recipients aren't receiving emails, there are several common areas to check for clues to identify the problem. Email deliverability is a complex area, and your Discover surveys can only know if the request to send an email was sent to your provider correctly, not what happens after that.
1. Checking Discover's status and logs
First, check the status on the email. Error or partially sent status indicates not all recipients were sent to your email sender.
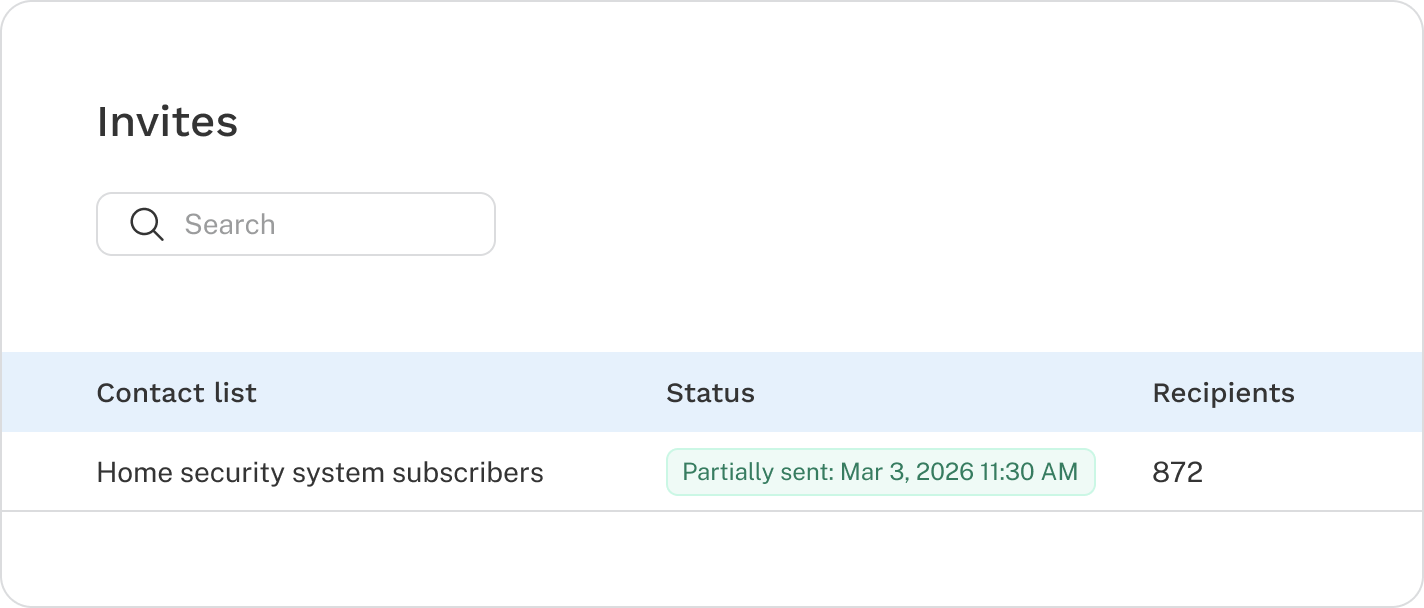
Each email send should result in a confirmation email sent to the email account used and contains a list of email addresses successfully sent to SendGrid and those that failed to send.
2. Checking SendGrid (or other providers) logs
SendGrid has its own logs for when an SMTP request is received in the Activity section. The Activity Feed includes the full delivery flow of the email, and might show issues such as the receiving email server rejecting the email. Click on an event to see a full history.
You should also have an email log that has easy filtering.
3. Checking spam filters and diversifying domains
If your emails aren't showing up in recipients' inboxes, make sure to check spam folders or contact someone in the IT department to make sure the emails aren't being filtered out. We also suggest ensuring you are sending emails to a variety of platforms for your initial tests. For example, if you are testing with email addresses of your colleagues, consider adding some emails outside of your organization, such as Gmail, Yahoo, etc. This can help gather evidence of where an issue might be happening.
Additionally, review the sections above to ensure your authenticity records are enabled and you follow SendGrid's reputation and warm-up recommendations.