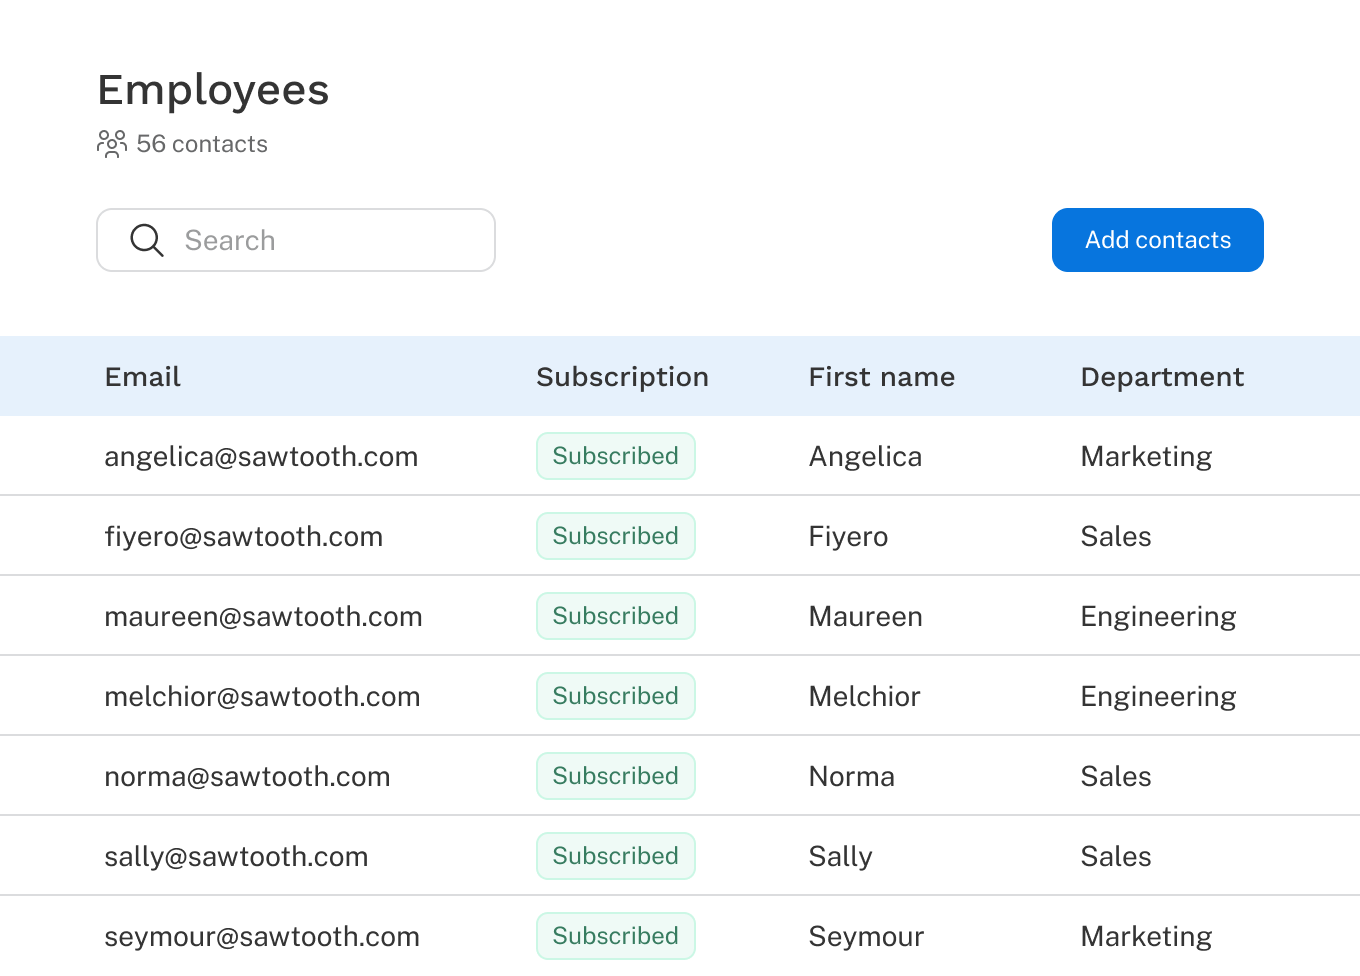
From the Contacts tab in Discover settings, click Create list. Inside the new list, click Add contacts and select an .xlsx file to import.
You must confirm you have permission to email the contacts you are uploading to proceed. Ensure you are following applicable laws and regulations governing the handling of personal information and communications.
Map the fields. For each column in your file, use the Import as dropdown to choose how it should be imported.
- Map to existing: Match the column to an existing field. On first import, the available fields are the system fields: Email, First name, and Last name. Email is required, as it's used as the unique identifier for each contact. On subsequent imports to an existing list, any custom fields created from previous imports will also appear here.
- Create new: Create a new custom field from this column. Unrecognized columns are set to this by default.
- Do not import: Exclude the column from the import.
Click Import. Contacts are imported row by row and you don't need to stay on the page for the import to process. Once complete, you'll receive an email with a link to download a list of any import errors. These include:
- Invalid email format: A valid email address requires an @ symbol with text on both sides (e.g., name@domain).
- Duplicate email: This email address appears more than once in your file.
- Missing email: No email address was provided.