Introduction
Merged attributes combine similar attributes into a single display row, making concepts easier to read. Merging is purely visual, it does not affect how the design works or how utilities are estimated.
Merged attributes combine similar attributes into a single display row, making concepts easier to read. Merging is purely visual, it does not affect how the design works or how utilities are estimated.
Let’s look at two examples to see when and how merged attributes can be helpful.
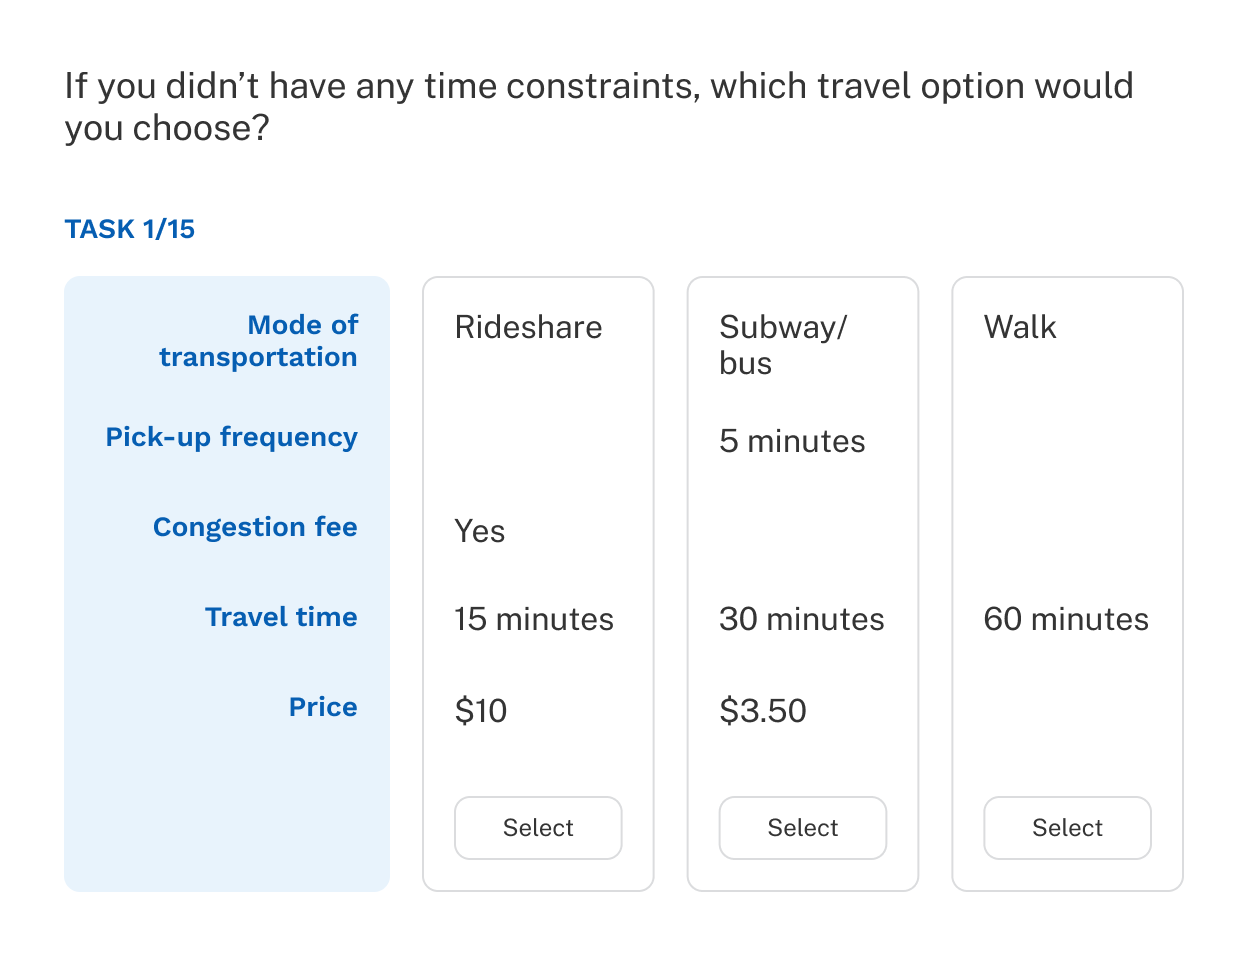
When nested attributes are used, some attributes may appear blank because they don't apply to certain concepts. For example, a transportation exercise might include two cost-related attributes:
| Attributes | Levels |
|---|---|
| Subway/bus price | $2.90 |
| $3.10 | |
| $3.50 | |
| Rideshare price | $10 |
| $15 | |
| $20 |
Only one applies in each concept, but both describe the same kind of information. Merging them into a single row labeled Price displays the applicable value in each concept without leaving a blank for the unused attribute.
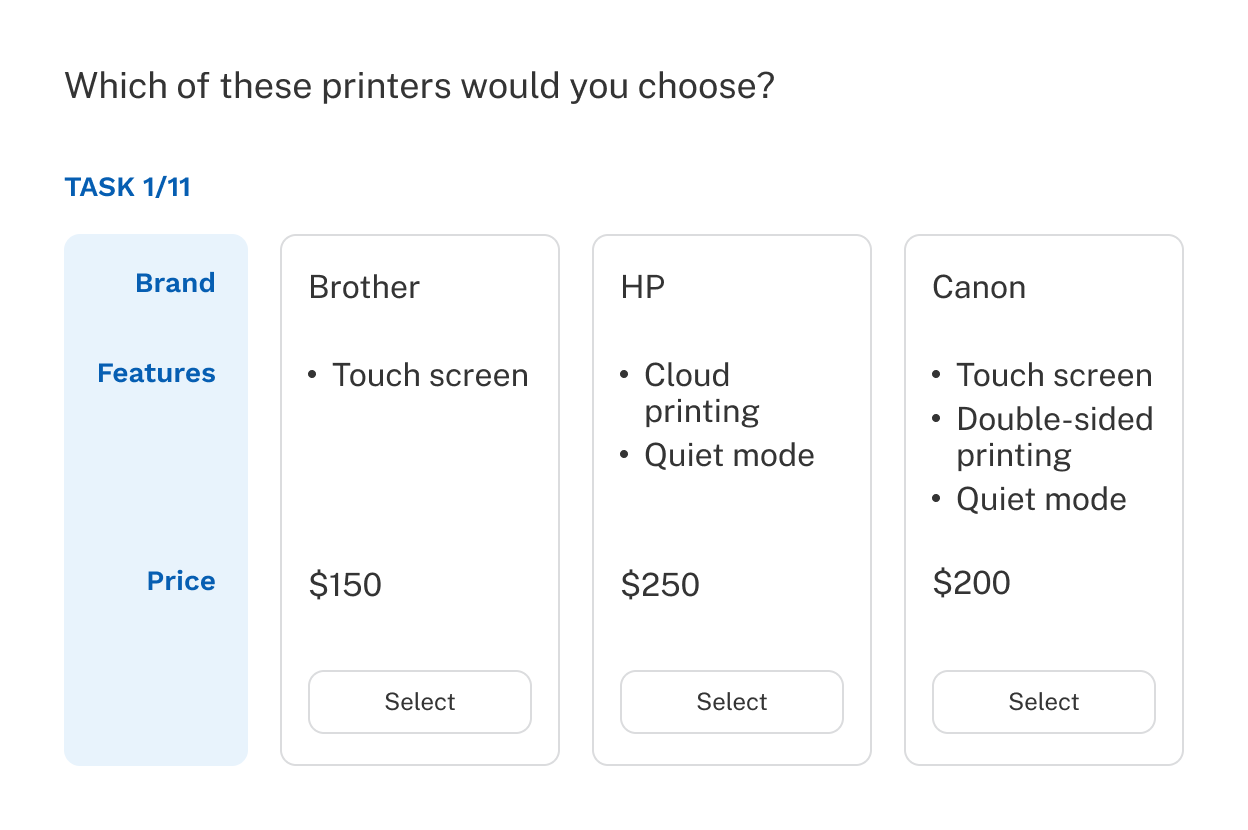
A printer exercise might include several binary attributes:
| Attributes | Levels |
|---|---|
| Brand | Canon, HP |
| Cloud printing | Yes, No |
| Touch screen | Yes, No |
| Double-sided printing | Yes, No |
| Quiet mode | Yes, No |
| Price | $150, $200, $250 |
As the number of attributes grows, the vertical space in each concept increases. To condense the view, merge Cloud printing, Touch screen, Double-sided printing, and Quiet mode into a single row labeled Features.
To set this up, edit the levels for each of the four attributes — change Yes to the attribute name (for example, Touch screen) and change No to blank. Then create a group labeled Features including all four attributes. Each concept will show a single Features row listing only the applicable features.
When merging two or more attributes, choose which attribute's position the group should occupy in the concept.
If the merged attributes are consecutive, position doesn't matter, they'll appear in the same location either way. If they're non-consecutive, select the attribute whose placement best matches your intended layout.
For example, given this attribute order:
To display the merged Price group at the bottom, select Rideshare price under Show group in place of.