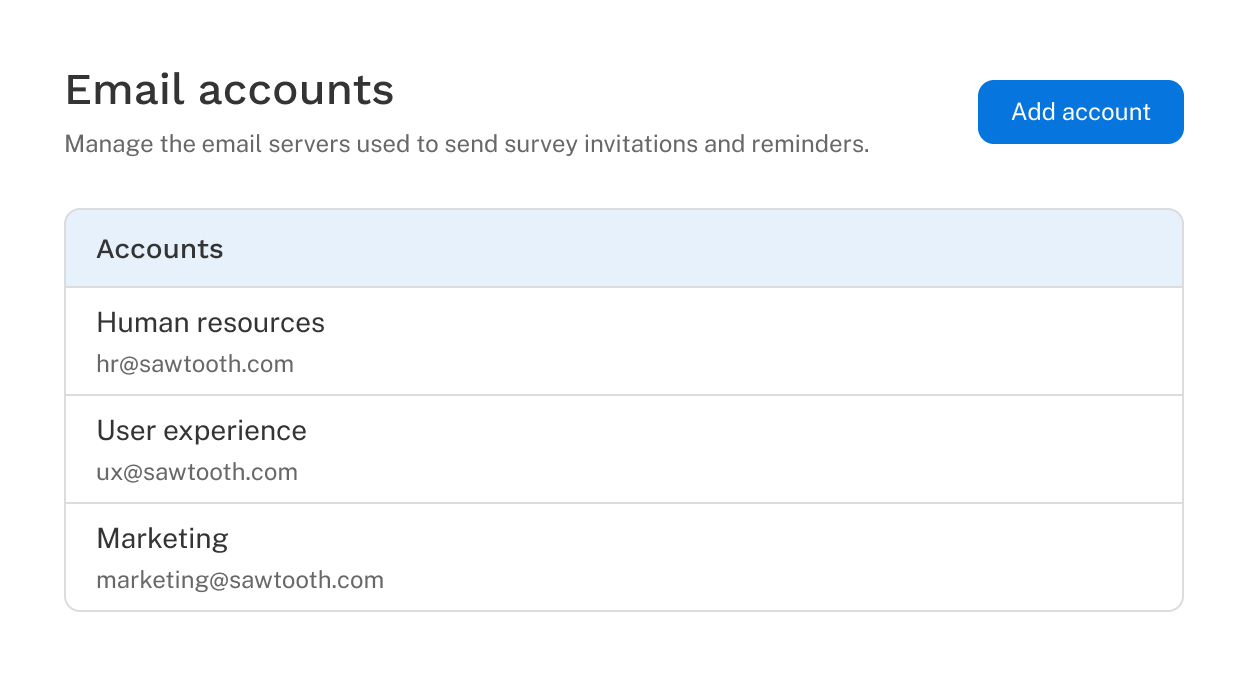
Email accounts

Introduction

Connect an email server to send survey invitations directly from Discover. For best results, use a dedicated sending service like SendGrid rather than a standard email account. Free services like Gmail have low daily limits and can affect deliverability at scale. See Connecting SendGrid to Discover for a setup guide.

Email Accounts

Adding an account

  1. Open Discover settings.
  2. Open the Email accounts tab.
  3. Click Add account.
  4. Fill out the form:
    1. From name: The name recipients see in their inbox.
    2. From email: The address recipients see the email coming from.
    3. Reply-to address: Where replies are sent. If left blank, replies go to the From email.
    4. Username: Your email username.
    5. Secret: Your email account credential, stored securely in the Secrets section of Discover settings. Add it there first, then select it here.
    6. SMTP serverPort, and Encryption: Your server connection details.
    7. Rate limits: Rate limits control how quickly Discover sends emails through your account. The right values depend on what your email provider supports and your sending domain's reputation — sending too quickly can trigger spam filters and hurt your deliverability over time. Rate limits apply per send, not across your account as a whole. Contact your provider if you're unsure what values to use.
      1. Send limit: The maximum number of emails per send. If a send exceeds this limit, the remainder resumes 24 hours after sending began.
      2. Batch size: The number of emails sent per server connection. After each batch, there is a brief delay before the next batch begins.
      3. Emails per minute: The maximum sending rate per minute.
  5. Click Add account.

Discover tests the server connection when the form is submitted. If the connection fails, check your server details and try again.

Once added, Discover will send a confirmation email to the From email. This confirms the address is valid and associated with the credentials you entered. A connection to an email server can succeed even if the From email address isn't linked to the account, which would prevent emails from sending.

If you don't receive the confirmation email:

  • Check your spam folder. If it's not there, check your email provider's quarantine. Some providers route unfamiliar senders there, and quarantine notifications can be delayed.
  • Confirm the address is correct. If you entered the wrong address, edit the account. The connection will be retested and a new confirmation email will be sent.
  • Confirm you have permission to use the address. The from address must be associated with the username and password you entered.

Once the account is confirmed, it will be available when composing an email invitation.

Testing a connection

To verify an account's server connection at any time, click the options icon (More Menu) next to the account and select Test connection. This is useful if an account hasn't been used in a while, and you want to confirm it's still active before sending.

Note that testing the connection does not re-send the confirmation email, so it only confirms the server is reachable, not that the From email is still valid.

Email reputation

Your ability to reach recipients' inboxes depends on your sending domain's reputation — a measure of trustworthiness that inbox providers use to filter email. Reputation is built over time through consistent, low-volume sending before scaling up, a process called warming up.

If you're new to sending from your own domain — for example, if you previously sent through a platform that managed deliverability on your behalf — you should establish your domain's reputation before using Discover. Most sending services like SendGrid offer warmup guidance or automated warmup tools. Once your domain is warmed up and you're sending reliably, connect your account to Discover and begin sending invitations.

Starting large sends from an unwarmed domain risks your emails being routed to spam or blocked entirely, which can be difficult to recover from.