Introduction
In a typical conjoint exercise, each concept includes a level for every defined attribute. In some studies, certain attributes only make sense in the context of specific options. Nested attributes, also known as alternative-specific designs, let you define these conditional relationships so that some attributes only appear for particular levels of another attribute.
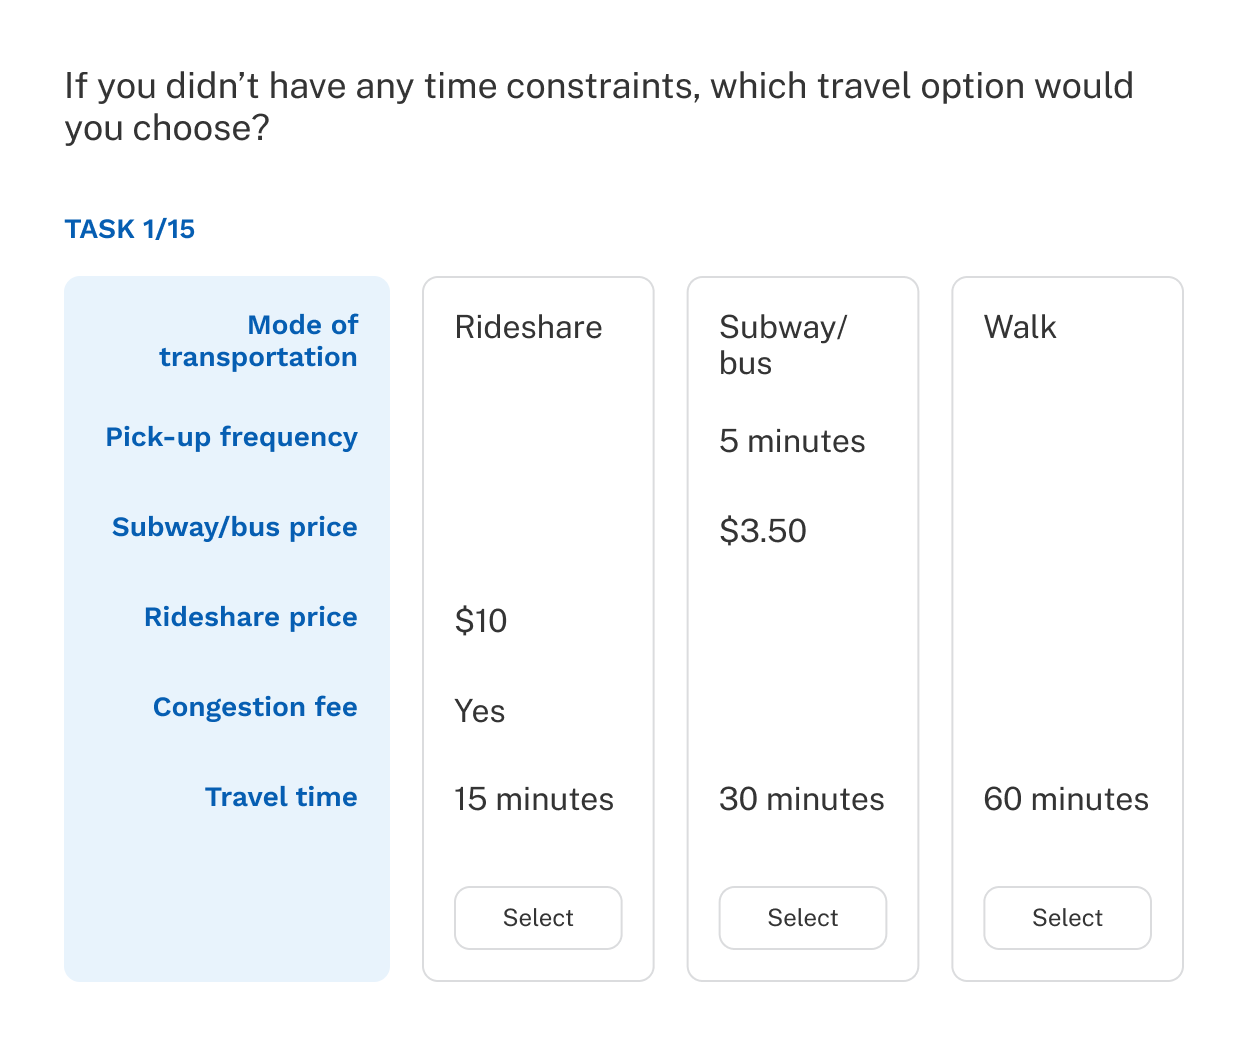
For example, consider a conjoint study on ways to get around New York City. Attributes and levels might include:
| Attributes | Levels |
|---|---|
| Mode of transportation | Subway/bus |
| Rideshare | |
| Walk | |
| Pick-up frequency | 5 minutes |
| 10 minutes | |
| 15 minutes | |
| Subway/bus price | $2.90 |
| $3.10 | |
| $3.50 | |
| Rideshare price | $10 |
| $15 | |
| $20 | |
| Congestion fee | Yes |
| No | |
| Travel time | 15 minutes |
| 30 minutes | |
| 45 minutes | |
| 60 minutes |
With nested attributes, Pick-up frequency and Subway/bus price appear only for Subway/bus, while Rideshare price and Congestion fee appear only for Rideshare.